Showing posts with label Punch. Show all posts

Saturday, 6 April 2024

Celebrate With Cake


This year I am trying to make a concerted effort to use my stash rather than collect it.

I have been making cards for at least 25 years now and in that time I have amassed a lot of supplies. Over the last few years I have tried not to buy too many new items, glue and consumables of course have been the exception from this.

So in an attempt to actually USE my dies and embossing folders especially I have pulled out not one, but 2 dies that I have not used before.... Go me!

When I saw the current sketch from Atlantic Hearts Sketch Challenge I had already decided to use the sentiment die to make a birthday card for a neighbour. I had the perfect piece of paper in my stash to suit the background so the sketch was a brilliant starting point for this card.


The image was cut from white card and coloured with a combination of Promarkers, fine liners and a Spectrum Noir glitter marker.

This was then mounted onto black card cut with the scalloped outline die and popped up on 3D foam for dimension.

A sheet of card was used for the base and I added some cardstock which was in my coloured scraps file. It came in a mixed bag of scraps from Craftwork Cards years ago and was 8' square so I was really pleased to use it after so many years. Each colour is embossed with different textures.

The small butterflies have been cut using a Martha Stewart punch. I love how detailed it is despite being small in size. I cut the bottom layer from scraps of a green paper. The top layers were cut from scraps of a striped paper from DCWV which I lined up so that it would be symmetrical on each wing. These butterflies are stuck down in the centre and the top layer wings folded up.


The large green butterfly was cut from a perfume box that I saved as it has a really sumptuous flocked texture and was far to nice to throw away. This particular die has an outline that is attached to the main butterfly and you can stick it down and leave the wings flapping.

I have found some amazing tools called Teeny Tiny Dauber Sticks which I bought from Hunky Dory Crafts. You get loads in a pack and you can wash them to re-use. They are perfect for gluing very fine detailed dies and I am really pleased I have tried them. (I am not affiliated in any way, just a very happy customer)


Finally I have added some small gems to the body of the butterflies and some star gems dotted around the card.

Card Details -


Size - A5

Dies - Celebrate With Cake (Crafter’s Companion), Kaleidoscope of Butterflies (Crafter’s Companion)

Punch - Butterfly Stamp & Punch Set (Martha Stewart)

Colouring Medium - Promarkers, Fine liners, Spectrum Noir glitter marker

Designer Paper - Embossed card from Craftwork Cards, Butterflies The Glitter Stack (DCWV)

Embellishments - Self adhesive Gems


I would like to enter this card into the following challenges (in Alphabetical Order)

Thursday, 1 December 2022

X Stitch Penguin


I am frantically catching up on my posts for the challenge for Beccy's Place Month of Holiday Cards.

Day 26 the prompt is the letter X.  X is for X stitch and XXX kisses on the doodle border

My little penguin is a cross stitch kit that came from a magazine freebie a million years ago. It was originally a gift tag but over the years the adhesive had come unstuck so I had put it in my little box of things that needed to be remade.

I frayed the edges and added it onto a scrap of red card. I used a corner punch to round the edges off.

The card base is Forever Friends embossed one that came in a Docrafts Goody Bag. I added some gems to the border and used a was rub-on to the snowflakes

Finally I added lots of gems to the corners and the snowflakes.

I would like to enter this card into the following challenge


Wednesday, 9 November 2022

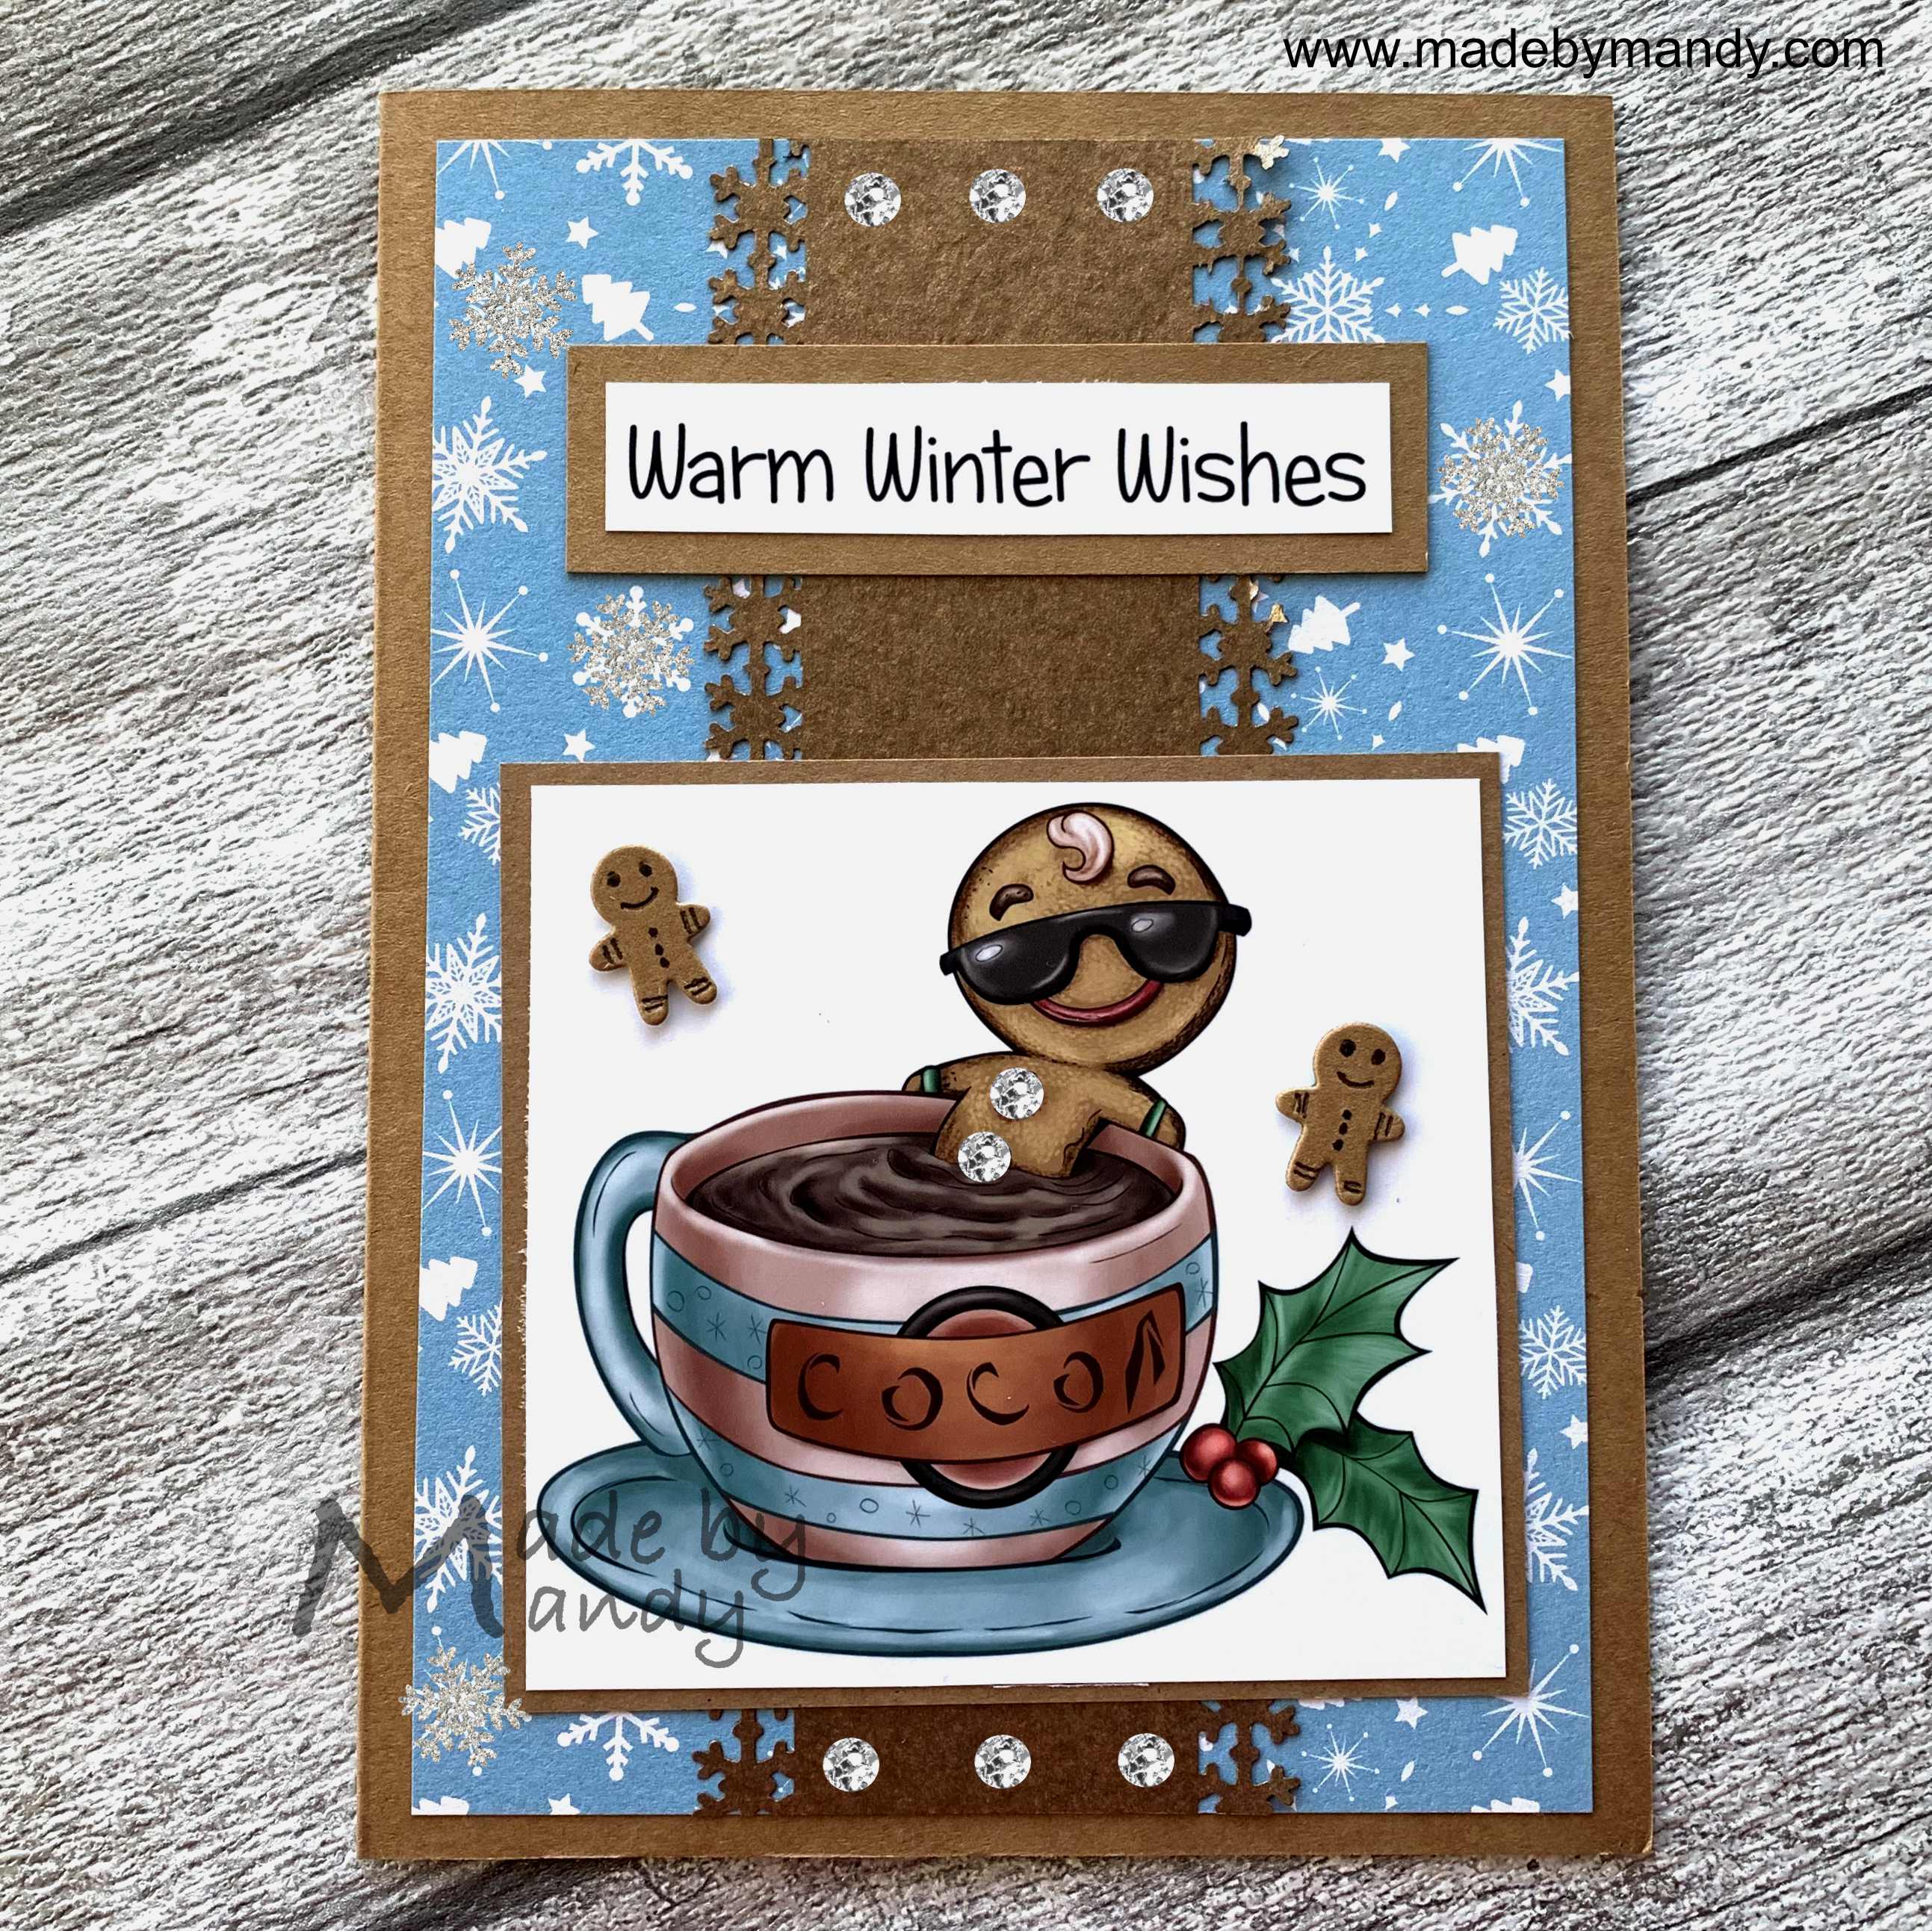
Cocoa Jacuzzi


Day 9 at Beccy's Place month long holiday challenge prompt is the letter H.
H is for Hot Chocolate and Holly

I have used the cool image Cocoa Jacuzzi from The Paper Shelter. Each set has a paper, digital image in black outline and pre-coloured and a full card that you can print out. They really are versatile and it leaves you free to choose how you wish to create.

For this card I used the pre-coloured image and this has been printed out since last November so it was great to finally use it :)

I decided to stick with the blue and brown colour theme of the image so the base of the card is kraft. I have used this also to mat the image. 

The patterned paper is from a mainly blue themed pad of papers from Craft Sensations. I used some hammered texture metallic paper and trimmed it with the Snowflake border punch from Fiskars.

The sentiment I thought matched the warm jacuzzi theme and this is from a set by the now retired Imagine That Digistamp.

I added some gems and silver peel off stickers to add a bit of Christmas sparkle.

Finally the sentiment and mini gingerbread are made from the inside of my bran flakes breakfast cereal box. This is thicker than traditional kraft card so perfect for little jobs like this. 

The baby gingerbread is a die which came in an issue of Die Cutting Essentials. I was shopping at the supermarket a couple of months ago and there was a craft bundle of older magazines and I literally bought it for this tiny gingerbread man. It is only 1.8cm tall and so utterly cute I just could not resist. There are quite a few dies and stamps with the magazine which are quite useful but I NEEDED this tiny gingerbread man. I thought it was perfect to go on this card as the cool cookie needed some little friends. (I showed my hubby the first one I cut as I squealed at the cuteness and he thought I was a bit mad.... LOL)

Card Details -


Size - 5” x 7”

Digital Image - Cocoa Jacuzzi (The Paper Shelter)

Digital Sentiment - Santa Penguin (Imagine That Digistamp) Now Retired

Dies - Tiny gingerbread man (Die Cutting Essentials Magazine Issue 84)

Punch - Snowflake Border (Fishers)

Designer Papers - Merry Christmas Frosty (Craft Sensations)

Colouring Medium - Black fine liner pen

Embellishments - Self Adhesive Gems, silver snowflake peel off stickers


I would like to enter this card into the following challenges (in Alphabetical Order)

Saturday, 13 November 2021

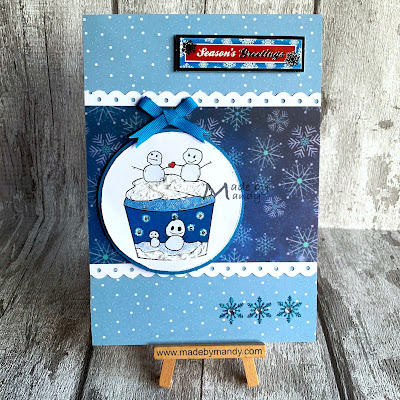
Snowman Heart Cupcake


Day 5 at Beccy's Place Month of Holiday cards has the letter E as our prompt.

I have chosen Embossing paste which is the snow on my image.

Snowman Heart Cupcake is a digital image from Limited Runs. This was coloured in November last year and I made a digital card with it for a DT project. I had put it to one side and forgotten about it until now.

The image has been coloured with Promarkers. The starry sky background was added using a technique I learned from one of Beccy's tutorials where you create a halo like effect around a star by layering different shades of blue down. I the added gel pen stars, stickles glitter glue and a clear sparkle pen overlay.

The embossing paste has been used to make the snowlike frosting on the top of the cupcake and snow on the bottom. Blue stickles has been used on the 2nd layer of frosting and clear stickles on the bottom. I cut the image out and used a distressing tool to roughen the edges of this and the blue mat.

I used sketch 531 from Try Stamping on Tuesday for the layout.


The card has been covered with a pale blue patterned paper. I then added a strip of white card which has been treated with a Fiskars border punch. To this I added an offcut of snowflake vellum.

I added a foiled sentiment from Hunkydory, a bow made with an offcut of ribbon and some super sparkly snowflake stickers from The Works

Card Details -


Size - A5

Digital Image - Snowman Heart Cupcake (Limited Runs Digital Stamps)

Colouring Medium - Promarkers, Gel Pens, Spectrum Noir Clear Overlay

Designer Paper - Glittering Snowflakes vellum (Crafter’s Companion), Merry Christmas (Craft Sensations)

Punch - Treading Water Border Punch (Fiskars)

Embellishments - Aleene’s Glitter Embossing Paste, Stickles glitter glue, ribbon, snowflake gem stickers (The Works)


I would like to enter this card into the following challenges (in Alphabetical Order)


Wednesday, 7 July 2021

Christmas Robins


I am delighted to bring you this card today as a Guest DT member of the Creative Craft Cottage Challenge


I won a challenge there recently and was invited to join them for the Christmas in July challenge that starts today. I adore making Christmas cards so it is the perfect challenge for me


The sponsor for this challenge is All Dressed Up. They have some amazing images that have a lovely hand drawn quality to them. Wendy has a very distinctive style and I love working with her images.


The image I have used here is Christmas Robins. I love robins, we have a regular visitor to our garden who loves to hang around, especially if I am digging & weeding. If I find any worms he is on them like a rocket. Myself and a neighbour who lives two doors down have named him Bob. He is so friendly and comes right up to you, often keeping you company for over an hour.

Anyhoo, I digress.... I coloured this image with Promarkers and added some pencil for shading and texture. I have a red marker that has one of those fine tipped nibs that Letraset used to make and it seems to wick the ink into the lid. Like a numpty I had opened the lid right over my image and 3 red blobs were in the background of my colouring. I was absolutely gutted but then realised it was serendipity (a happy accident) as that formed the idea for the background. I added some more dots in the Promarkers colours I had used to colour the image.

The card blank has been made using a sheet of A4 green card. I added papers from old Papermania packs. The music sheet paper I thought would enhance the musical notes on the image. This has been punched with a Martha Stewart border punch. This trellis design gave me the perfect opportunity to thread through a fine gold and silver metallic ribbon.

The image has been matted onto gold card. I then added some musical notes with a small punch. Finishing touches are a ribbon bow which has been recycled from a confectionary packaging and lots of Stickles glitter glue for highlighting the banner and adding extra dots to the background.

Thank you to Creative Craft Cottage for the opportunity to  join you for this challenge and work with this lovely image. Please head on over there to join in with Christmas In July


Card Details -


Size - A5

Digital Image - Christmas Robins (All Dressed Up)

Punch - Garden Trellis Border (Martha Stewart), Musical Note (EK Success)

Papers - At Christmas Time A4 (Papermania), Christmas Tidings A4 (Papermania)

Colouring Medium - Promarkers, Arteza Expert Pencils

Embellishments - Stickles Glitter Glue, Ribbon, Bow


I would like to enter this card into the following challenges (in Alphabetical Order)


Wednesday, 10 February 2021

Kit Kite Valentine


Today I am sharing with you the valentine's card I have made for my hubby.


There is a great offer on in the store of 30% off a purchase of 3 items or more so I would encourage you to head on over.


I have used the image Kit Kite Valentine and Heart Digital Papers from Pinksy Doodles. Please visit the Etsy store for an ever expanding range of papers, images and some fabulous SVG cut files that make me wish I had one of those fancy machines......


I used Sketch 492 from Try Stamping on Tuesdays for the layout and roughly designed my card on scrap paper before organising what I wanted to print out.


I printed the heart digital paper onto some glossy photo paper, it really makes the colours pop. I used 2 of the papers so I could add a contrasting strip.

The little kitty has been coloured with Promarkers and I used my Arteza coloured pencils to add some shading. The balloon has been covered with Glossy Accents and I added Glamour Dust glitter to this so it really sparkles. I fussy cut the image and added some sparkly gems to the cushion. This has been popped up on some thin foam squares.


The You Make My Heart Happy die cut sentiment is from Crafter's Companion. You get all the dies needed to create the layout and once I had decided what papers I was using I could cut the hearts out using the matching papers. I added double sided tape onto the back of the black cardstock before cutting the letters out which is so much easier than glueing the letters after they have been cut.

I added a strip of my absolute favourite ribbon to the underside of the pink central panel. I bought quite a big roll of it from Ebay years ago and have used it for so many cards over the years.

The sketch has 3 little dots on the bottom left so I used one of the rubber stamps from the Always & Forever set from Uniko and added some tiny red gems to either side. There seemed too much blank space above the sentiment so I cut a scalloped heart using an old punch from Woodware.


I had lots of scraps of the papers left so I decided to decorate the inside too. The central focus is the sentiment stamp from You Are Sentiments Outlined from Uniko. I had seen reference to this phrase at different times over the years but did not know where it originated. I really like to watch programmes on my Ipad when I am cooking and crafting and I am currently watching Grey's Anatomy and now know it is from this series. My husband is 'My Person' and has been for nearly 32 years so it is perfect for him.

I layered the papers together using Woodware punches to add a little more interest.

I am a full on romantic. I always say I live in a heart shaped world. You know some people see faces in images and everyday scenarios well I see hearts in all sorts of patterns and I truly believe that is because I have been in love with my husband for so many years. I know I am extremely lucky, he truly makes my heart happy just like it says on the front of this card.

I wish everyone who visits my blog lots of love and happiness and hope you are as happy as I am.

Card Details -


Size - A5

Digital Image - Kit Kite Valentine (Pinksy Doodles)

Digital Paper - Hearts (Pinksy Doodles)

Dies - You Make My Heart Happy (Crafter’s Companion)

Punches - Scallop Heart (Woodware) Heart Corner (Woodware)

Rubber StampsAlways & Forever (Uniko), You Are Sentiments Outlined (Uniko)

Inkpad - Versafine Onyx Black

Colouring Medium - Promarkers, Arteza coloured pencils, white gel pen

Embellishments - Glossy Accents, Glamour Dust, Docrafts self adhesive gems


I would like to enter this card into the following challenges (in Alphabetical Order)